Saturday, February 5, 2011

Scrap Material and the laundry hamper

So, to my three followers, thanks for following!  To all of my closeted readers, thank you, as well. 

You may recall that I made a crib skirt a while ago.  As a result of that project I had some left over fabric that was just begging to be used.  It could've made some pretty swanky shorts for myself but that is beyond my sewing abilities.  Mrs. K wanted a laundry hamper for the nursery for all the dookiness that is to come and we just happened to have one laying around in the laundry room buried under a pile of stuff with laundry laying all around not being utilized for anything other than another horizontal surface that stuff piles on top of, I of course had to use it for its intended purpose.  That was the longest sentence I've ever written.

This is what I started with:


I check to see if I had enough fabric to cover it.  I did, but just not in the correct shape.  Two pieces had to be joined down the middle to make a piece wide enough.  This posed a couple problems.  The first is that a seam down the middle is a sure sign of shoddy workmanship and secondly, the pattern on the fabric should line up um......seamlessly?  There was no way I was going to treck across town to the fabric store agan and spend the money on more fabric.  That would kinda defeat the purpose of utilizing scrap material, wouldn't it?  So, I decided to put that darn seam smack dab down the center.  I carefully lined up the material so that the pattern woven into it resembled some effort on my part to make it look nice and decided to use a "triple stitch."  What is a triple stitch you ask?  For those of you who have a leather interior in your car take a look at the stitching on the seats on the edges.  You may notice that there are three stitches.  One down the middle and one stitch on either sides of the center stitch.  Not only does this strengthen the seam but it sure does make it look purdy.

This is where I put the first stitch to the right of the center seam


This is the "triple stitch finished:


So, now I have a piece of fabric large enough to cover the hamper (Oh, I removed to the top of it so it would be easier to work with):


And about 500 staples later, I have a newly reupholstered hamper that matches our crib skirt:


I think that it needs to be painted white.

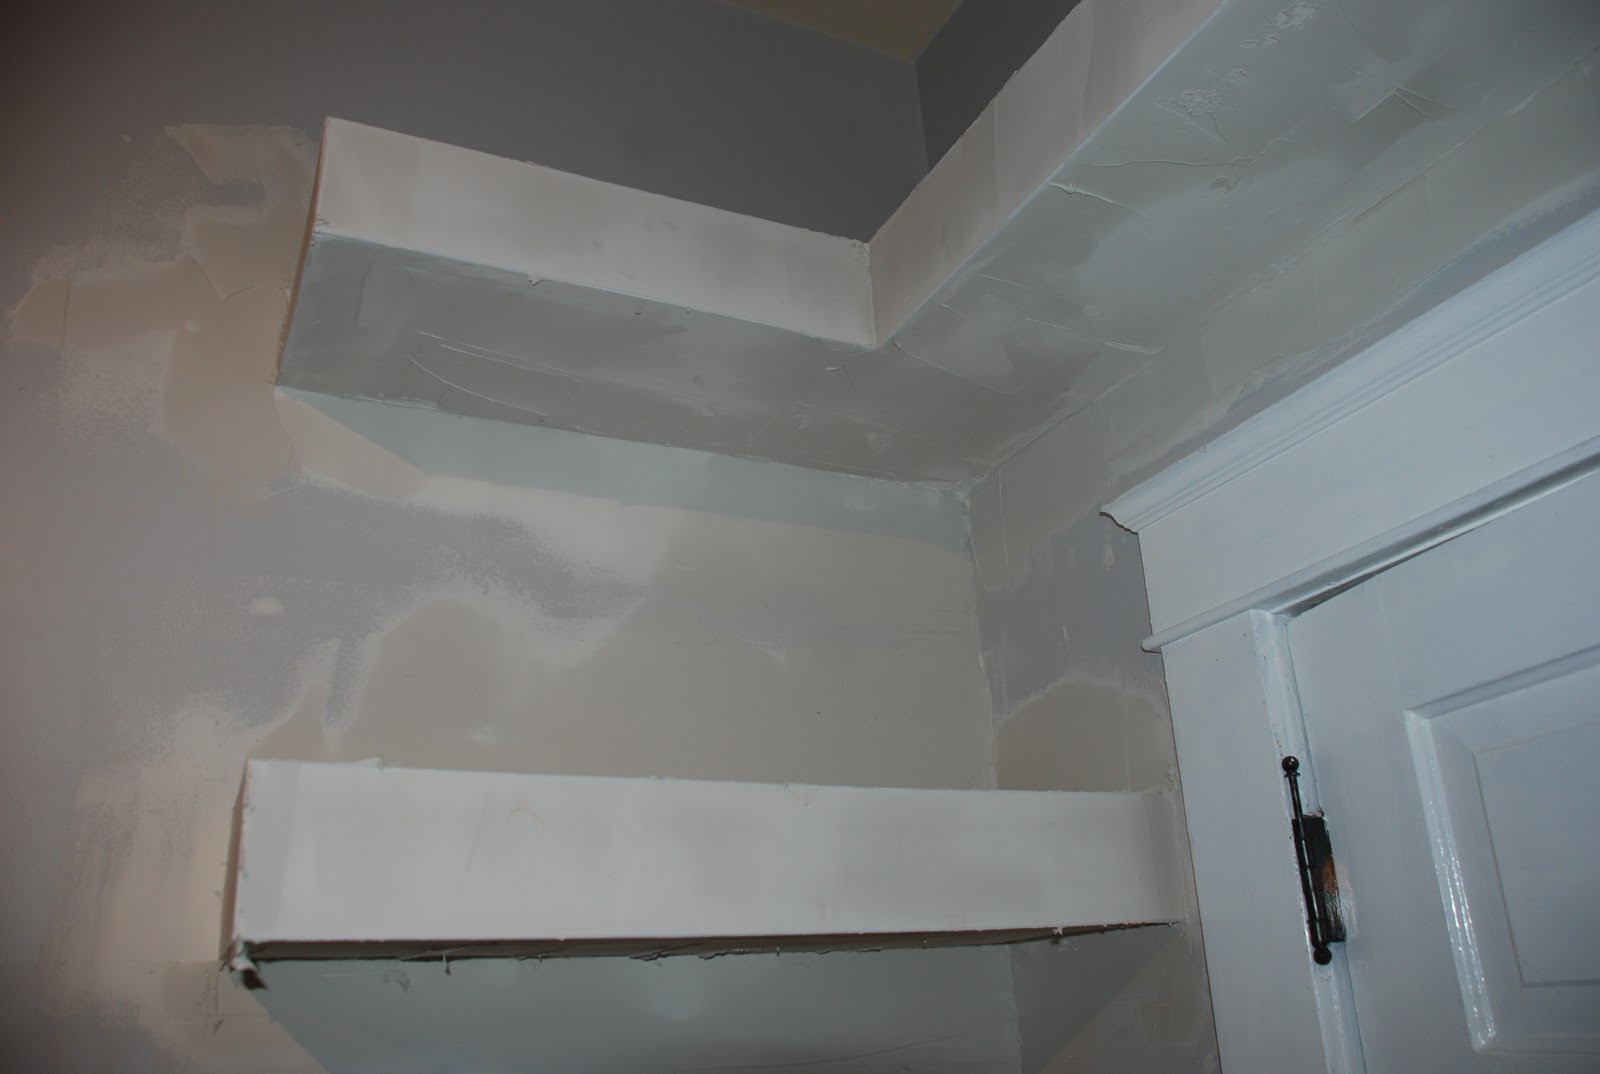
Oh, and those shelves I started earlier?  I have them corner beaded, and slathered in dry wall compound. I think I used like 3 gallons of compound so far.  That's a lot!  Excessive, actually.  To those of you professional drywallers, I know, I am not doing this as efficiently as possible.  I felt like I was icing a wedding cake, though.  I've got some serious sanding ahead of me:


Wednesday, February 2, 2011

Busy day fixing the car, painting and hanging some drywall.

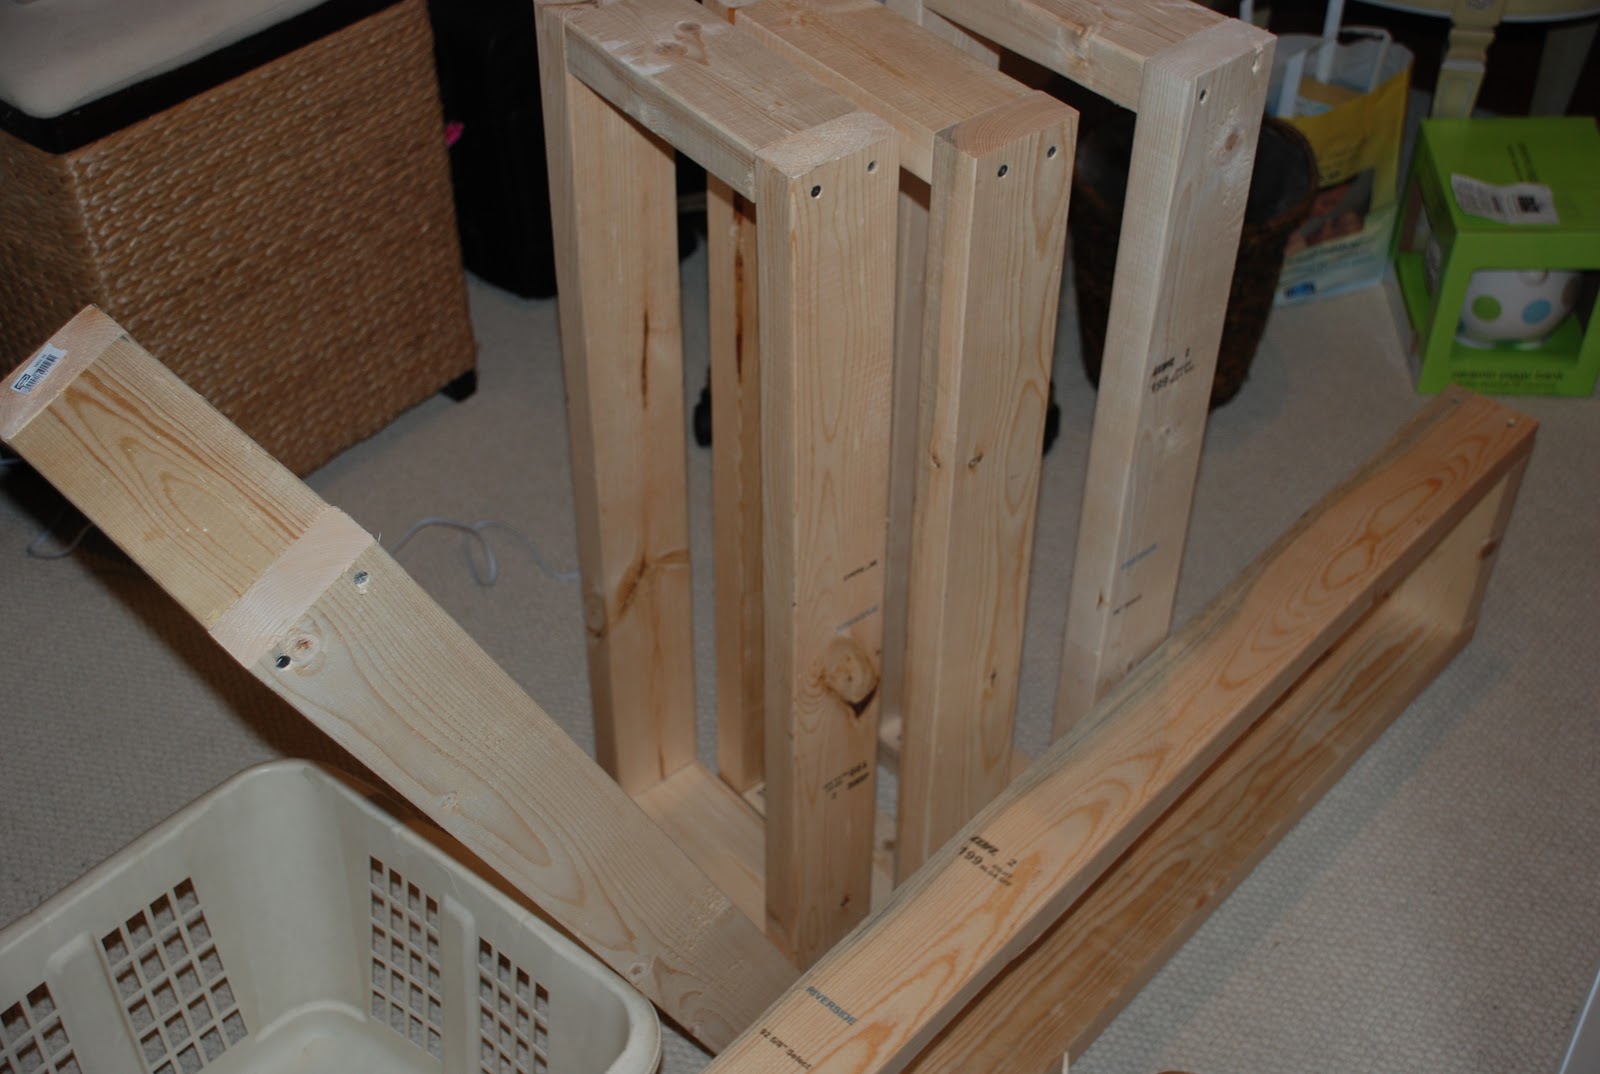
Yesterday, with all the rain and all, was one of those days that I just didn't feel like doing much.  I did start building my shelves and hung them on the wall, though.  Can you ever have too much storage and shelving?  I think not.  If I'm not careful, this room will be just a bunch of shelves and closets.  We need a bigger house.  So, as I sat in the nursery, listening to Fox News, I was hatching a plan to build some built in shelves.  I decided a set of floating shelves would look nice behind the door to the room.  Kinda there, yet kinda out of the way.  This is what I drew up:


So, with my plans in hand, I head out to the garage, crank the heat and start cutting and assembling the shelves.  I decided to just do them out of 2X4's covered with drywall.  Here they are and here they are hung up:


Starting to look like my little diagram doesn't it?  I did put up the drywall and some corner bead on the shelves today but I had to get Mrs. K's car fixed so I put this project on hold to get her car done.

Now, when one of our cars is parked in the garage that means something's broken and either parts are on the way or the car is in pieces waiting for parts to be ordered.  Basically, it means that things are not running along smoothly in the household, as it usually is.  Not really.  So, when Mrs. K and I were heading back from KY I roll my window down just the tiniest bit and try to roll the window back up.  Guess what?  It doesn't go back up.  Now, if any of you out there own a BMW we all know that those darn window regulators must be built by Fisher Price or something.  In other words, they do not last at all.  I already "modified" the driver's and passenger's side regulators with nylon zip ties.  The driver's side held up.  The passenger side, not so much.  Now, this is a great, cheap fix, we're talking 10 or 20 cents to fix versus 100 dollars for the part.  I'll go with the cheaper fix. 

In this case, I went ahead and ordered a new regulator instead of trying to redo the zip tie fix thinking that the cable snapped since the last time I had it out of the car the cable did fall off of the pulley and while I was putting it back on I thought I damaged it.  I'll just go ahead and reinforce the new one with the zip ties anyhow:

A sad sight, I know. 


Now, the dealer wants over 150 dollars for this part, an OEM part online is 100, I went ahead and bought the aftermarket part for 60 dollars.  I thought, I would be "modifying" anyhow so it should be stronger than the dealer part anyhow.


Quality looks just as bad as the original part.


This is the zip tie modification.  It's crazy, the part that engages the cable is plastic around a metal "slug" fused to the cable.  The plastic is where this part fails, The zip ties engage the cable more securely to the plastic.


Now, this will be the third time I've fixed the windows on this car so it went really quickly this time.


This is the best designed door release cable I've ever come across.  Kinda makes you think that the engineers knew that these doors would be taken apart ALOT! to fix the window regulators.

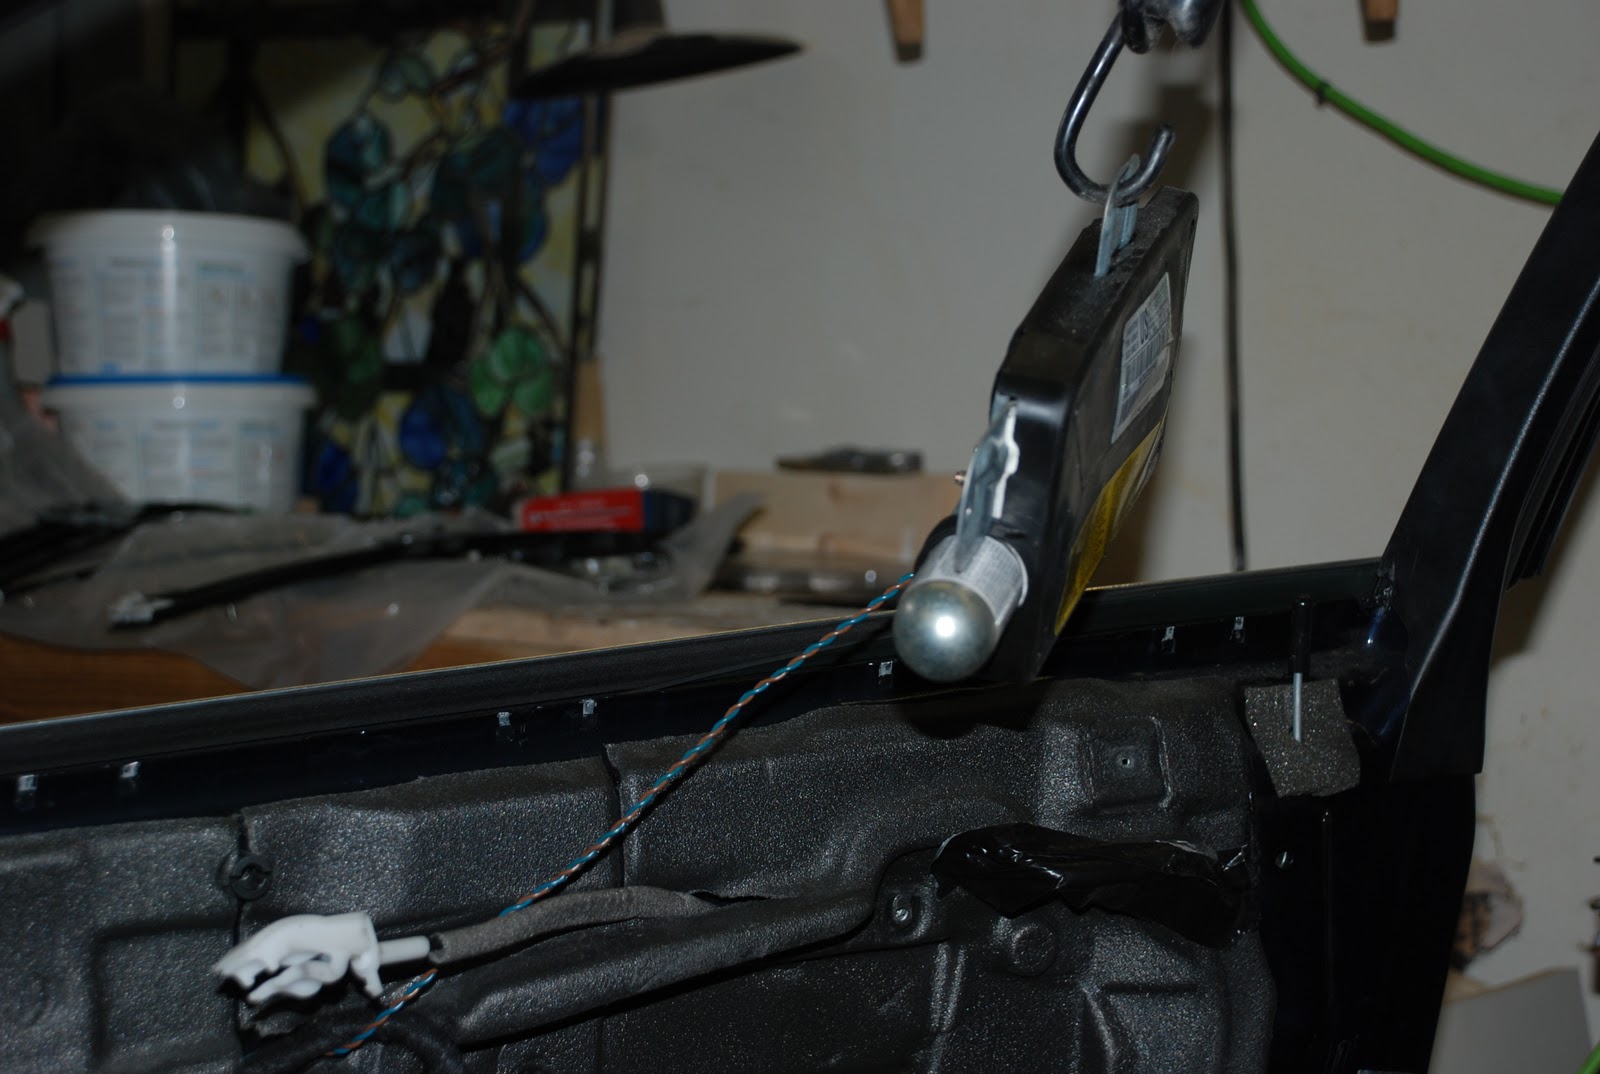
 This is the airbag held out of the way with a bungee cord.  It would suck if this thing went off in my face.

This is the window regulator motor.


The inards all put back together.  Make sure you test the operation of the window before you get to this point and way before you get the door panel back on.


Be sure to have plenty of these door panel clips on hand because they do get damaged very easily if you're not careful.


 So, the car is put back together and I just saved about 300 dollars off of the dealer's price for parts and labor.  Not too bad for about 45 minutes of work.  I make lawyer money now!

Okay, shelves started, Mrs. K's car fixed, Baby shower dinner with Jenny's office, thank you you guys!  Now, time to get back to those paintings I started earlier.  This is how they are progressing so far:


Whew!  Long day, time for bed.

Tuesday, February 1, 2011

Could Today be any better?

So, it's Monday, Mrs. K (this is the alias I came up with for the wife)  and I had a great weekend up in the Bluegrass State visiting with friends and family, I got a ton of sleep last night and I was fired up and ready to go to start some more projects today.  My goal today was to start a series of paintings for the nursery and to get some supplies to build some built in shelves as well.

I call Mrs. K and ask if she had any special requests for dinner tonight and what did she come up with?  Red Beans and Rice!  What?  I don't ever think that I've ever made it for her. . . ever.  I was in!  Did I mention that Cajun Cuisine is one of my absolute favorites? So, off to the store I went, I got all my meats and produce and went to grab some sodas, Diet Coke to be more specific when what did I see?

CHEERWINE!  I haven't had this stuff since the last time I was in North Carolina.  And it is now in Tennessee.  If you've never had this stuff, it is to North Carolina as Dr. Pepper is to Texas.  Only, better, in my opinion.  Now, they just need to bring down Ale 8 1's from Kentucky.  Then, will my soda selections be complete in Nashville.

Anyway, so I start soaking my beans as soon as I get home for dinner and head down to the local Art supply store and pick up three canvases and a tube of raw sienna acrylic paing and various other doo dads and head home to start painting.  The shelves are just going to have to wait for tomorrow.  I had too much on my plate for one day.  Let's get the Beans and Rice thing out of the way first. 

The great thing about preparing Cajun food is that it is so simple.  It is like the most backwoods cuisine infused with French, African and I guess Gulf Coast flare.  In other words it is so good because it is the sum of a lot of great culinary influences.  Of course, all Cajun/Creole food starts with the "Trinity":  Celery, onions and peppers with an addition of garlic.

Once cut, I sweat it in some oil, but don't add the garlic just yet.  When you add the garlic with all of this it could burn in the process and burnt garlic has a very unique, unsavory flavor to it.  Once things have had a chance to sweat down I then push things aside to brown the Andouille sausage.  I just split them down the center and then cut them in half again, this way I can fish them out of the pot before I puree a bit of  the beans.  I want to render out the fat to flavor the beans as well as get them browned a bit.  Once the sausage is browned I add the garlic, thyme, bay leaves, Cayenne (BAM! Just kidding,)  smoked ham hocks and the soaked red beans.


Cover the beans in chicken stock, season with salt and pepper, cover and simmer for a few hours.  Once the beans are tender, I pulled the thyme stems, bay leaves, sausage and ham hocks out, and reserved them while I used a stick blender to puree about a quarter of the beans to make the mixture creamy.  Add some chopped parsley and put the sausage back in to warm and serve with rice topped with green onions and a chunk of buttered baguette.


Oops!  Dirty bowl rim.  Thank goodness I don't cook in a restaurant any more.  So, there you have it, red beans and rice.  Really simple and doesn't need much tending to once you get it going.   Look up recipes on the internet, they're all basically the same.  The flavor that is consistent with just about all Cajun food is thyme, the "trinity", garlic, cayenne.  Stick with that and you're off to a good start.

So, while dinner was on the stove, I started my painting project.  I think I'll write about it next time.  But here is what I have so far:


The process is long, boring and tedious so I think it deserves its very own posting.  They're drying for tonight so I can finish up tomorrow, hopefully along with starting those dang shelves.